Setup wizard
The fixed GPS tracker can be installed on the vehicle in minutes, simply
by connecting the power cables.
Installation is very easy, only 3 steps:
- Activation of the tracker
- Installation on the vehicle
- Check the installation
Follow the instructions in the manual and remember that the support team is always available to help you. To ensure the correct connection of the tracker's wiring we recommend to contact an auto electrician.
1 GPS tracker activation
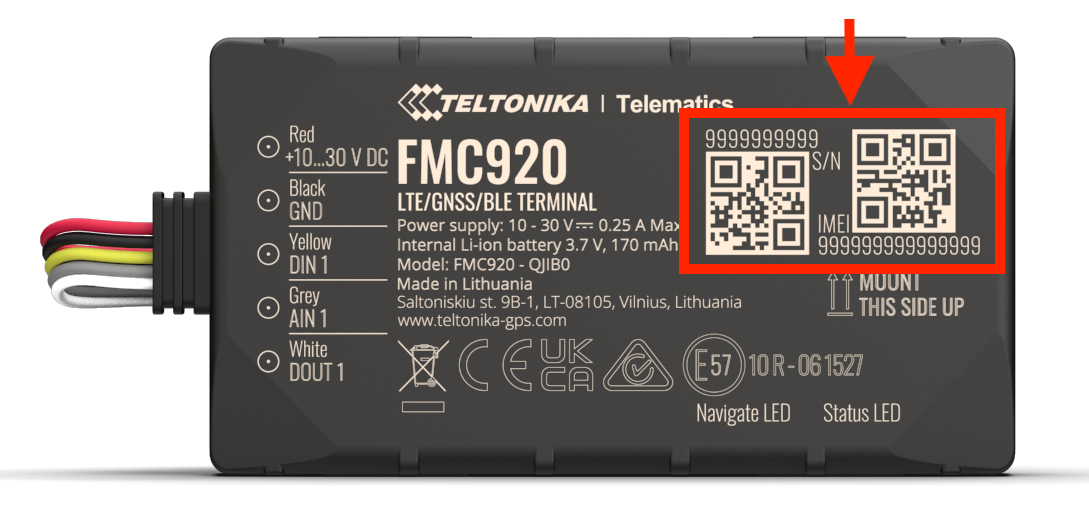
First you need to activate the GPS tracker. Go to the Activation page
and enter the IMEI code and serial code as required. Both codes are visible
on the tracker, as shown in the image.
Before
installing the device on the vehicle, we suggest taking a photo of
the codes to keep it in case of need.
Click here to go to activation
1 GPS tracker activation

2 Installation on the vehicle
For basic usage you need to connect the GPS tracker to the vehicle power
supply with the RED (+) cable and the BLACK (-) cable. The device must
be installed inside the vehicle cabin.
To ensure the correct connection of the device's wiring, we recommend
that you contact an auto electrician. Installation is very easy and can
be done in minutes.
To use the advanced functions (for example, engine start lock) follow
next points of this guide.
2 Installation on the vehicle

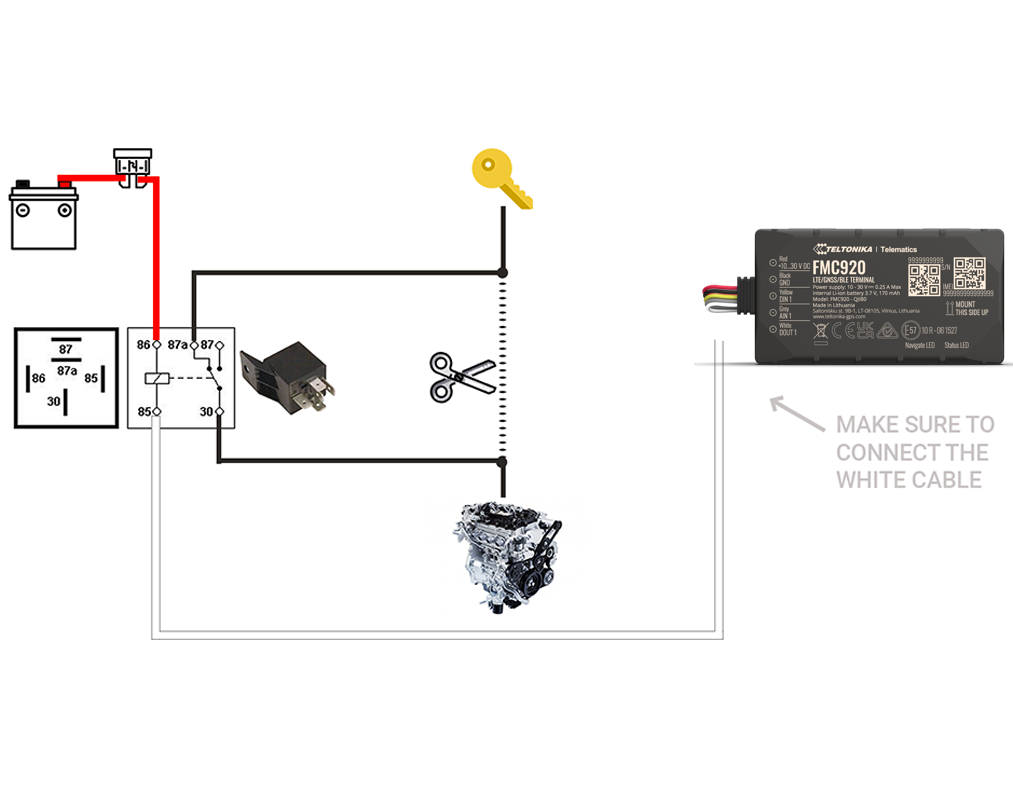
2b Connection for engine lock (*optional)
To start with the installation of the engine starting block, follow these
steps:
- stop the power supply line of the starter motor, connect one end to pin 87a of the relay and one end to pin 30 of the relay
- connect pin 86 of the relay to the vehicle's permanent power supply
- protect the connection with a 2A fuse
- connect pin 85 of the relay l pin 6 of the device (WHITE wire)
2b Connection for engine lock (*optional)

2c Connection for inputs (*optional)
It is possible to make connections between the tracker and some generic
inputs, such as door opening control, generic buttons, activation of power
take-offs, etc. Generally, this type of connection is made in order to
activate specific alarms.
In order to make this kind of connections it you need to connect the YELLOW
wire, as shown in the image.
2c Connection for inputs (*optional)

3 Check correct installation
Login to Balin.app from the website, or download the App on
your phone. (*Available on main Stores)
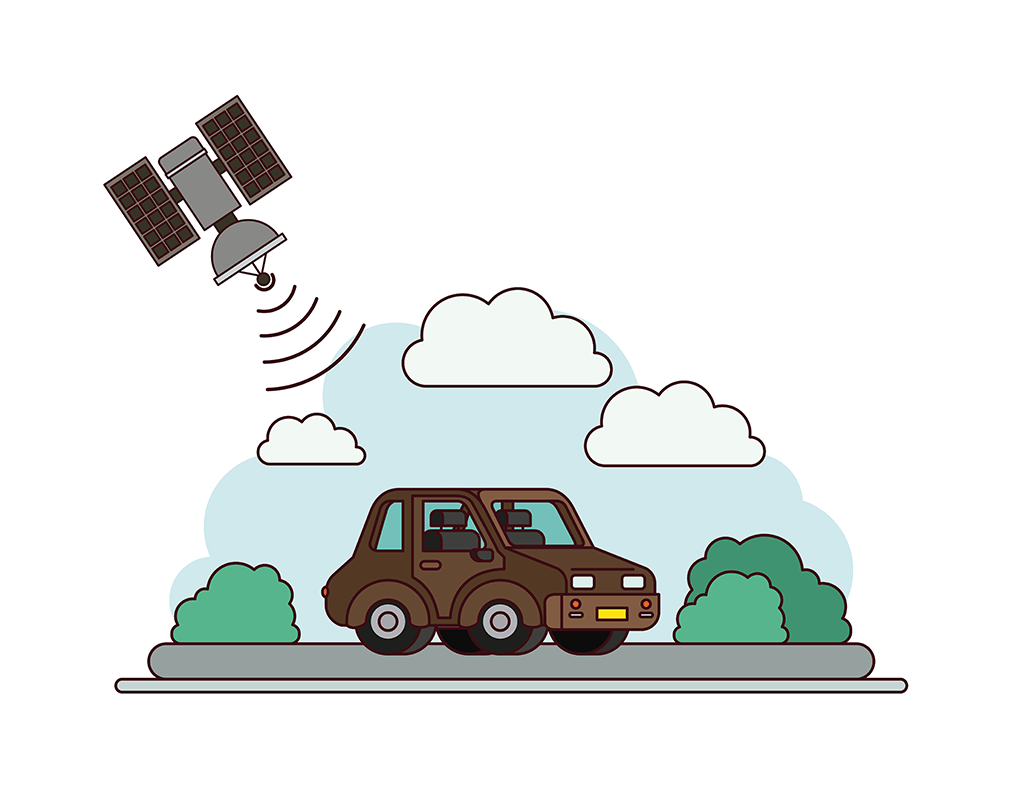
After completing the installation of the GPS tracker, make sure the vehicle
is in an open area to ensure proper signal reception. If after about 15
minutes you don't see your vehicle's GPS location on the map, then move
the vehicle.
For any doubt or need, our support team is always available to help you.
You can submit a support ticket from Balin.app, or contact us by email or WhatsApp.
3 Check correct installation

Technical features of GPS tracker FMC920:
- GPS tracker already configured and ready to use
- SIM card with data roaming included
- GPS & GLONASS technology
- 4G network connectivity
- Sensors for alarm detection
- Power supply 6V - 30V
- IP54
- Backup battery Li-Ion 170mAh
- Size 79x43x12mm (LxWxH)
- Weight 54g
Technical features of GPS tracker FMC920:
